
If you have more than one PC at home and you’re trying to figure out how you can share files with your computers, this how-to will walk you though the process of adding your Windows XP computer to a network so that you can enable file and printer sharing. This article came about as the result of a question posted on a Virtual PC article about file sharing that I wrote a couple of months back. Either way this article will be a resource to anyone who is trying to network their Windows XP computer.
If you have any comments or questions, please post them below.
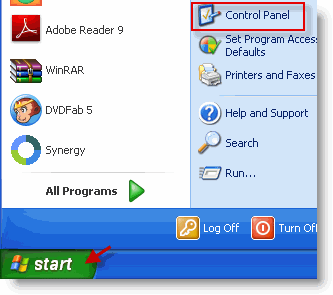
1. Open the Start menu and click Control Panel
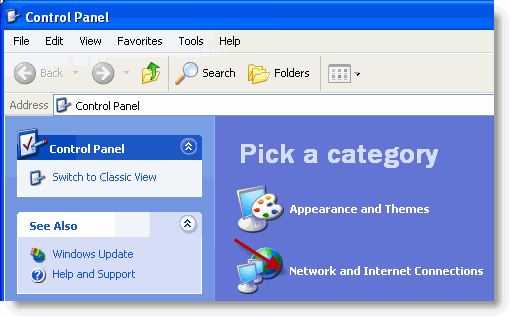
2. Click on Network and Internet Connections under Pick a category
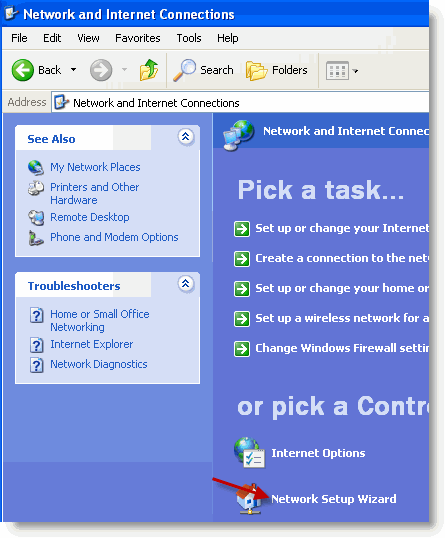
3. Click on Network Setup Wizard
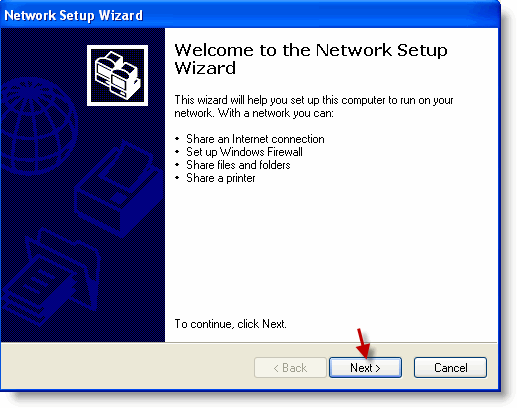
4. When the Network Setup Wizard opens, click Next
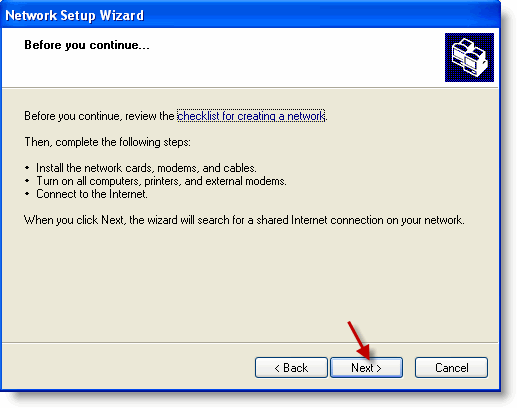
5. Ensure that you completed the steps above before proceeding, click Next to continue.
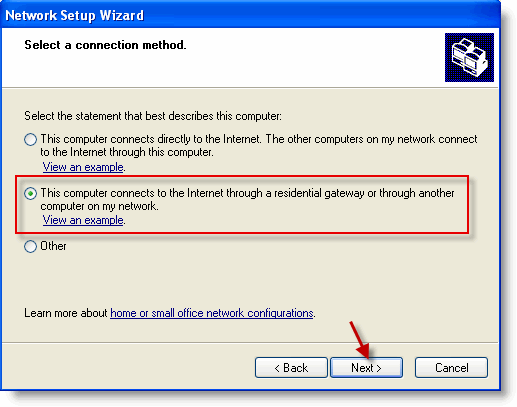
6. Select a connection method. Click Next to proceed.
- If your computer connects directly to the internet and the computer will act as a gateway for other computers on your network, choose the first option. This is usually the case with a USB modem that can only be connected to a PC.
- If your computer connects to the internet via a gateway (a router, another computer, etc) choose option 2.
- If none of scenarios describe your connection profile choose Other.

7. Enter the information highlighted above. Describe your computer (Computer description) and name the computer (Computer name). Click Next to proceed.
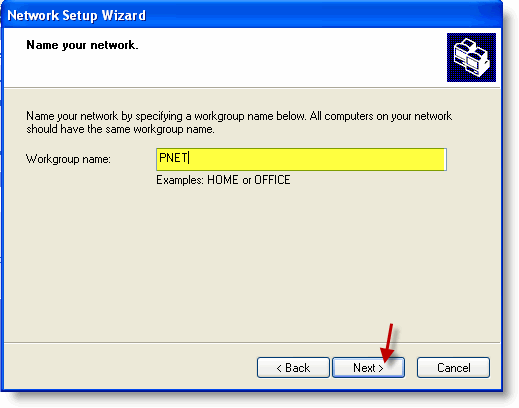
8. If you’re creating a network then you have an opportunity to get creative, if you’re trying to join a network, then you must enter the name (Workgroup name) of the network you are trying to join. Click Next when you are ready.
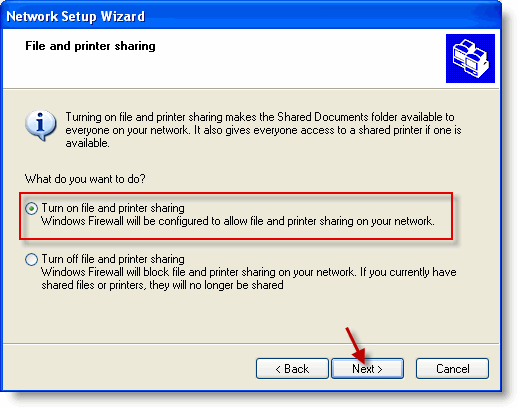
9. You have the option to turn on or off file and printer sharing…what’s the point of sharing if you’re turning off the sharing? Just make sure your network is secure before enabling file and printer sharing. Click Next to proceed.
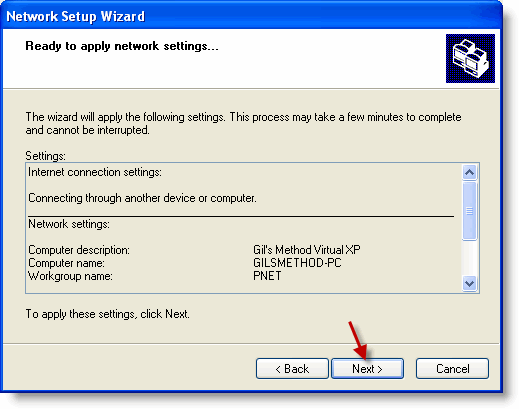
10. Review your settings and click Next to proceed.
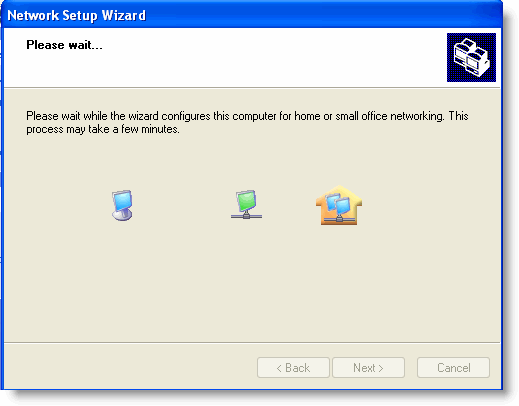
Network Setup Wizard in Progress…
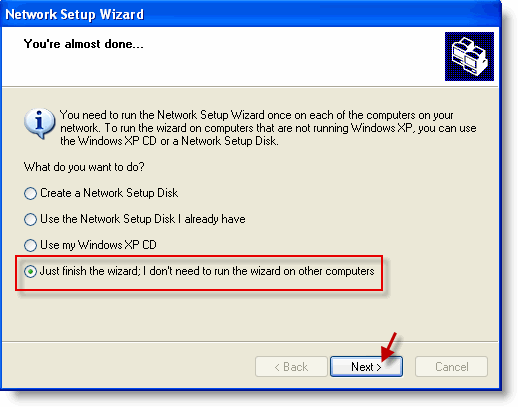
11. Once the setup is completed you will be given the option to create a Network Setup Disk to be used on other computers. When done click on the last option Just finish the wizard…
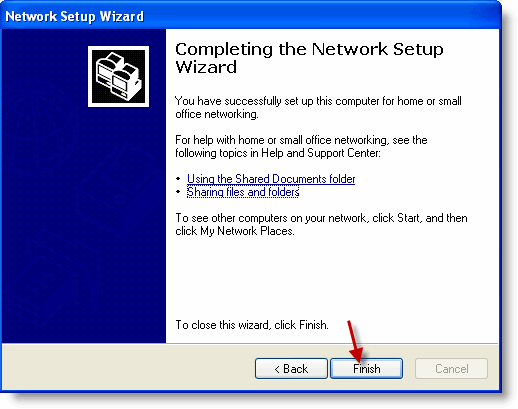
12. Click Finish, you’re almost done.
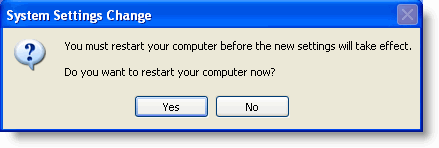
13. When prompted click Yes to restart your computer. You need to restart for settings to take effect.
