One of the nicest features you’ll find on the iPad is the ability to use a wallpaper not only for the Lock Screen, but also for the Home Screen. You can specify which pictures to be used as a wallpaper, but your wallpaper pictures may end up taking more space than necessary. Most current digital cameras will take pictures at around 10 megapixels or a 7-10 megabyte file…this means that if you’re using certain pictures strictly as wallpapers there’s no need for the added weight from extra pixels. In this guide I will show you how to resize your pictures using Picasa so that the images used as wallpapers don’t use up the precious space on your iPad.
Do you own an iPad? You might want to look into protecting your investment with invisibleSHIELD screen protectors. If you need any help or have questions please post them below.
Are you looking for more iPad how-to’s, tips, and help? Visit our iPad page.
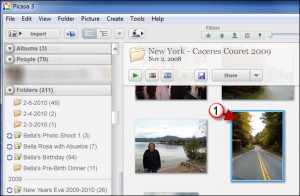
1. Select the picture or pictures you wish to use as a wallpaper for your iPad.
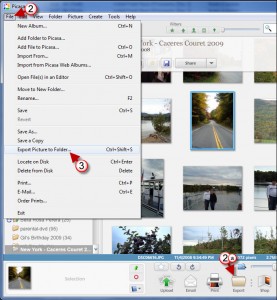
There are two ways to Export images in Picasa, both will be covered in this step.
2. Click on File –or-
2a. Click on the Export button – Skip to Step 4
3. Click on Export Picture to Folder from the menu.
4. Choose a folder to store your exported images.
5. Name the destination folder.
6. Click on Resize.
a. Set the size of the image to 1280, this will ensure that the other dimension will be at least 1024
Note: this will keep the image from being stretched/zoomed in when you change the orientation on your iPad.
7. Click on Export.
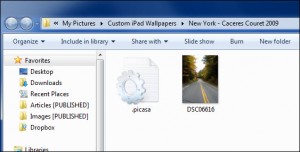
Your exported and resized image <1MB!
8. Sync your iPad
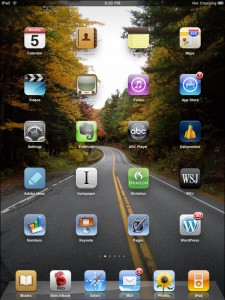
Your own scaled down iPad Wallpaper…

