As an avid iPhone photographer I find myself using my camera quite often. One of the things that I found to be quite a pain is the fact that iTunes does not automatically sync the pictures taken on the iPhone to your computer. After a couple of searches on the Apple website I found the instructions on how to bring pictures from your iPhone to your computer without iTunes. The how-to below walking through two different ways in which you can download the pictures from your iPhone to your computer the first is using the built-in Import Pictures wizard found in Windows XP, Vista, and Seven. The second method is a little more complex but allows you to manually select which pictures to include when you transfer your images to your computer.
If you have any comments or suggestions, please post them below.
Note: I used iPhone 3GS with Vista Ultimate
Transferring Your iPhone Pictures the Easy Way
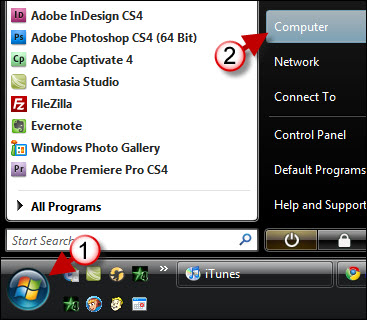
1. Click on the Start button to open the Start Menu.
2. Click on Computer to open the Computer window.
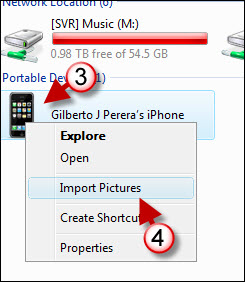
3. Right-click on the iPhone located under Portable Devices
4. Click on Import Pictures from the drop-down menu.
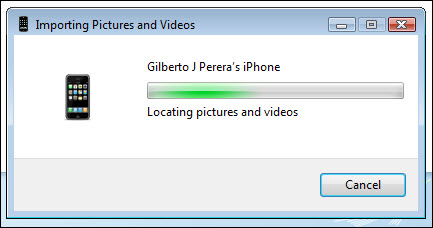
Progress bar of pictures being imported
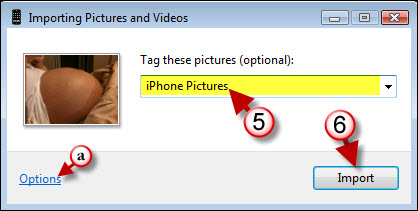
5. You have the option of tagging the pictures with a name so that you can locate them later. Enter the tag you wish to use.
a. The import picture and video wizard provides you with several options which can be accessed by clicking on the options link
6. Click on the Import button to transfer your pictures
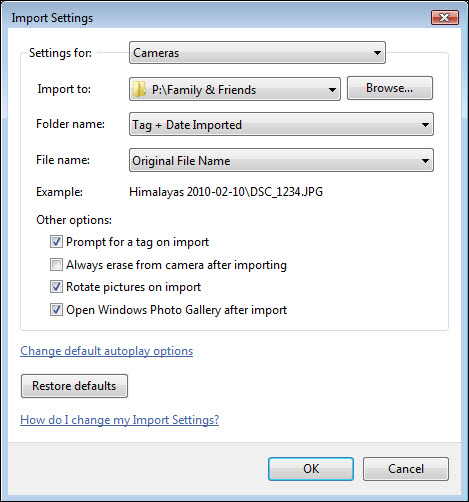
This is an overview of the import settings that are available when you click on the options link.

A screenshot of the import pictures and videos progress bar. You have the option of adding a check mark to the Erase after importing checkbox which automatically deletes the pictures from your iPhone. I normally leave this setting unchecked because I like my pictures remain on my iPhone.
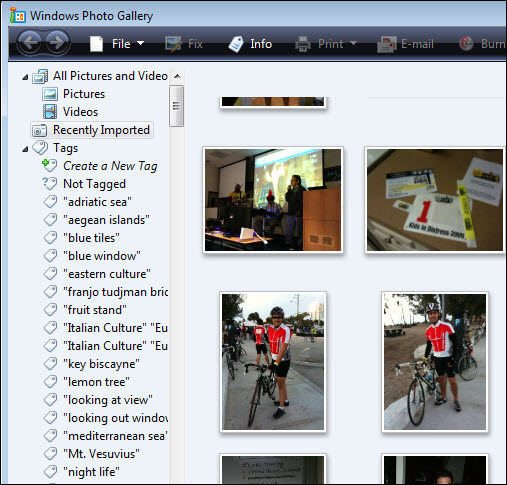
Windows Photo Gallery will automatically open to display the images you just imported.
Locating and Transferring Your iPhone Pictures Manually
Before you can download a video from any website you must first visit the site where the video you wish to download is displayed.
1. Click on the Start button to open the Start Menu.
2. Click on Computer to open the Computer window.

3. Your iPhone should appear under Portable Devices (if you have your items grouped by typed) otherwise it will be listed along with the other drives and devices in your computer. Double-click on your iPhone to explore its contents.

4. Double-click on Internal Storage
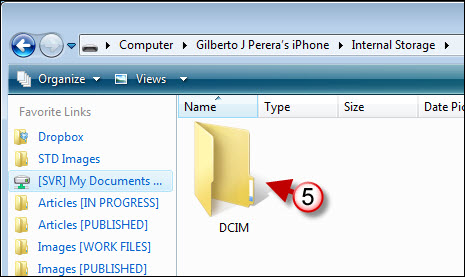
5. Double-click on DCIM (this is the directory where pictures and videos are stored).
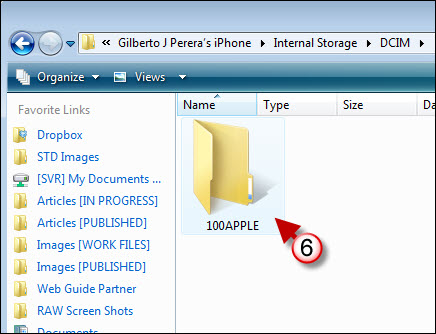
6. Double-click to open the folder named 100APPLE.
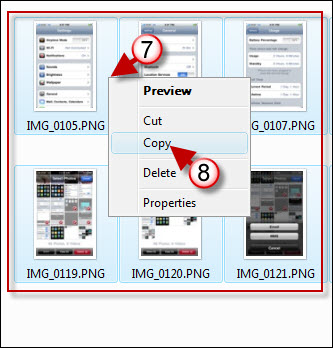
7. Select and right-click on the pictures you wish to transfer to your computer.
8. Click on Copy from the drop-down menu.
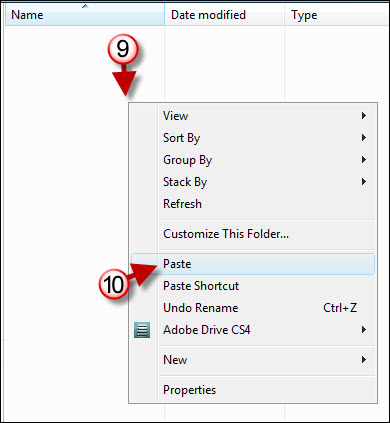
9. Open the folder where you would like to transfer your pictures to and right-click on the folder background (the white area).
10. Click on Paste from the drop-down menu to paste the images you copied to the clipboard.
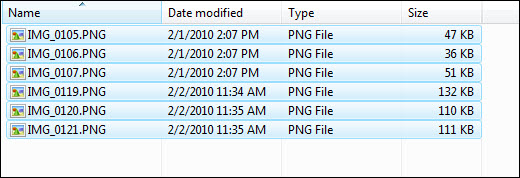
Your images have now been copied to the location you designated.
