If you use Picasa to organize your pictures you may or may not be aware of the various options available to edit the photographs in your digital albums. Although simple to use in nature, some of the editing capabilities found in Picasa match that of photo editing packages that would normally carry a hefty price tag. Below I will walk you through the Basic Fixes tab and provide you with a description and an example of each tool. If you have any comments or questions please post them below.
Note – Don’t fret, all changes made to your pictures using the tools below will not affect the original image. Like photo editing packages (Lightroom and others), Picasa is non-destructive, this means that Picasa will show you what your picture modifications will look like without actually modifying the original image. Of course if you wish, you do have the option of saving changes to the original image.
I used Picasa 3.5 for this tutorial. All pictures below were taken by me.
The Basic Fixes Tab
The Basic Fixes tab, provides just that, basic fixes. The tools you will find in this tab will enable you to crop images, straighten crooked pictures, remove red eyes and more.
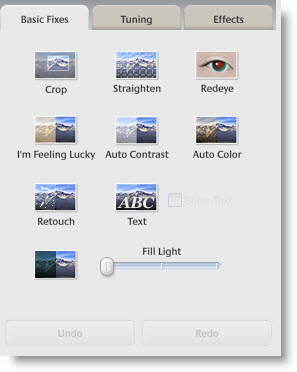
To reach the Basic Fixes tab simply double-click on an image in the Library view and the left pane will switch from the Navigation pane to the editing pane. Basic Fixes should be the default tab selected.
1. Crop Tool
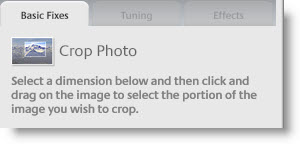
Like a specific section of a picture? Or want to remove someone who made their way into your photograph without you noticing? Use the Crop tool to select the area you wish to keep and delete the rest.

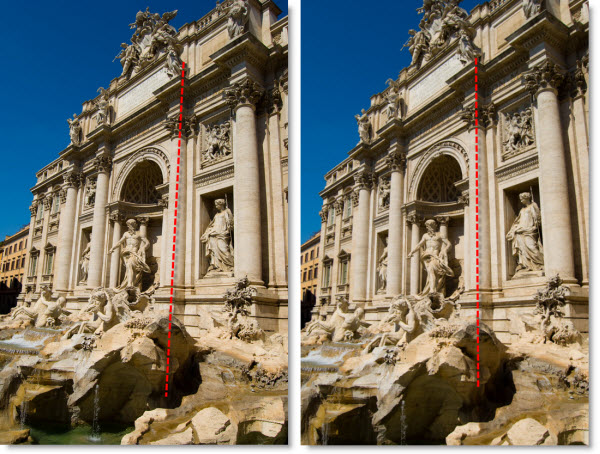
2. Straighten Tool

Sometimes it is difficult to hold up a camera straight when taking a photograph, when you can’t repeat the picture to correct the orientation, leave it to Picasa and the Straighten tool to help you straighten out that crooked picture.
The dashed red line below is used as a reference to point out the difference in inclination from one picture to the other once it has been corrected.
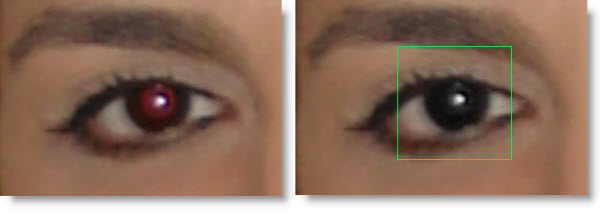
3. Redeye Repair Tool
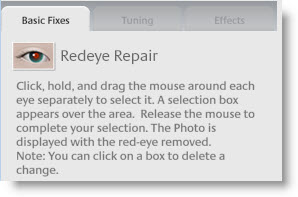
The Redeye Repair tool will automatically correct all the red eyes detected in the photograph. When the correction is made you will notice that a green box will surround the eyes corrected. In instances where the red eye cannot be detected automatically you can always manually correct the red eyes. This is one of my favorite tools because so many people forget to enable the red eye removal feature in their cameras.
4. I’m feeling Lucky Tool
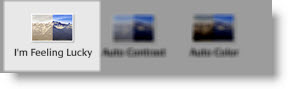
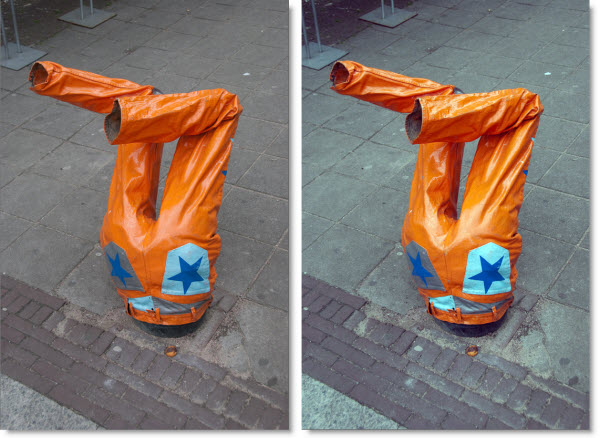
This is similar to I’m Feeling Lucky when searching with Google except that it pertains to a photograph. The I’m Feeling Lucky tool will adjust the color and contrast of your photograph to find the ideal setting for your picture.
You will notice that the image to the right (below) seems ‘colder’ whereas the picture to the left is a little ‘warmer’ (the original photograph).
5. Auto Contrast Tool
Auto Contrast will automatically adjust the brightness and the the contrast of your photograph to the perceived ‘optimal’ level. there are times where you will find yourself undoing the effects of this tool because it completely messes up the picture and there will be times where you don’t notice that it was even applied.
I tried locating a picture where this effect would be more prevalent and decided on this photograph. Notice that the cross has a more vibrant red and the roof tops in the background contrast better against each other (picture on the right).

6. Auto Color Tool
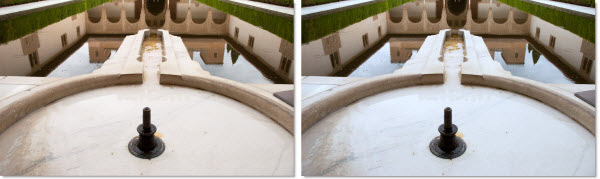
The Auto Color tool will balance the color in the photograph without affecting the brightness or contrast of the picture.
The results in the photograph below show how the Auto Color tool cooled the color tones of the photograph on the left. In this specific photograph it is not the result I would like, but it serves as an example of the tool’s effect.
7. Retouch Tool
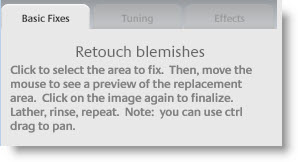
Probably one of the most powerful tools in Picasa’s arsenal of features, the Retouch tool allows you to repair/retouch photographs that have been damaged. Let’s say you have a picture of your great grandfather and the photograph has a wet stain – not a problem. The Retouch tool will repair this with a couple of mouse clicks.
I simulated a ‘damaged’ picture to demonstrate the power of this tool – The image to the left has been retouched and the red line was completely removed. This tool works great with pictures that are torn, scratched, stained, etc. Try it out…with this tool anyone can be photo restoration expert.

8. Text Tool
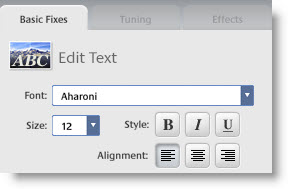
Often overlooked, the Text tool allows you to add text on top of your pictures. Very handy when you need to write something on a picture. The tool has a slew of options from text borders to transparency, quite powerful for a free application.

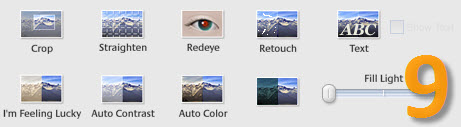
9. Fill Light Tool
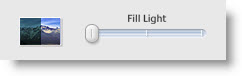
There are times when photographs will have areas that are underexposed due to a bright background or another area where the camera measured the light and underexposed portions of the photograph, leaving out important details. The Fill Light tool resolves this by filling in those underexposed areas and exposing objects that were once hidden by underexposure.
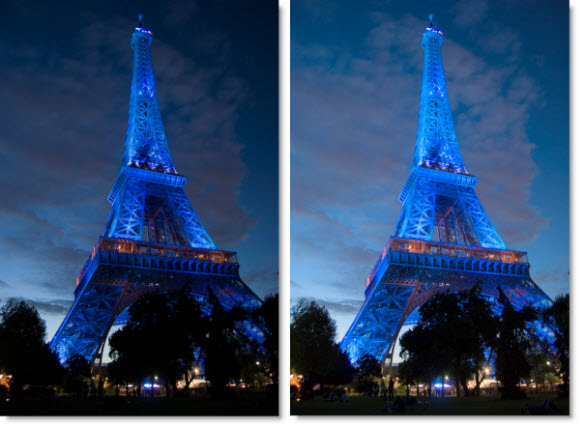
Although not the best example of this tool, the area directly below the Eiffel tower on the picture to the left is very dark and details are hard to identify. After using the Fill Light tool you will notice the dark area (along with the rest of the picture) was lit up and details can now be picked up on the image to the right.
Last Words…
The beautiful thing about all of these tools is that you can Undo their effects with the push of a button.
I will be working on other guides to explain each of these tools in detail, expect those in the next couple of weeks. Until then, happy editing!
