Based on my personal experience with Picasa and the feedback I have received from visitors, Picasa’s initial auto scan of ALL pictures located in your computer can be annoying and sometimes embarrassing. There are two remedies to this issue, the first is after the initial installation of Picasa. Once you have installed Picasa and you run it for the first time you will be given the option to search your computer for pictures, by selecting No Picasa will only scan your ‘My Documents’ and ‘My Pictures’ directories. However, if you agreed to the prompt when you first ran Picasa and would like to control which folders Picasa constantly scans for changes, the guide below will show you how to manage these settings. If you have any comments or questions, post them below.
NOTE: Picasa 3 was used for this tutorial, but instructions for previous versions should be the same.
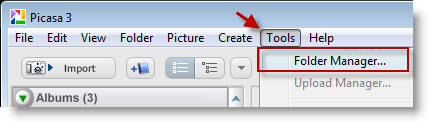
1. While Picasa is open, click on Tools > Folder Manager… (the Folder Manager window will open)
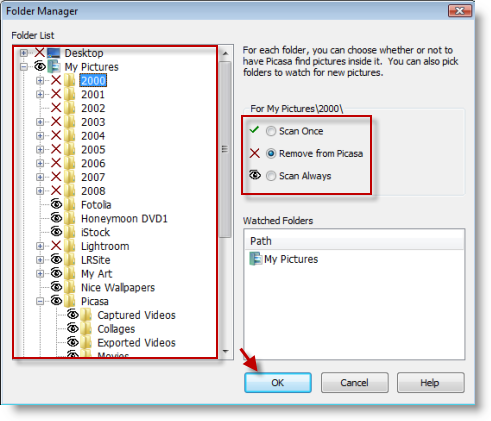
NOTE: In the the Folder Manager window there are a couple of things you should take note of;
Folder List: The Folder List on the left pane lists all of the folders on your computer
Options: The available settings for each folder on your hard drive.
- Scan Once (This option will only scan a certain directory once, meaning if you add new pictures they will not be scanned)
- Remove from Picasa (this option will prevent Picasa from scanning the directory and if present in Picasa it would be removed)
- Scan Always (this option will allow Picasa to constantly scan the specified directory for new folders and files)
Watched Folders: These are the folders in your computer that are set to Scan Always in Picasa
2. Now that you know what all these settings mean, select the directory whose visibility settings you want to change, select an option on the right (Scan Once, Remove from Picasa, Scan Always.) Repeat for other folders, click OK when you’re done.
