Are you running into trouble with incompatible applications in Windows 7? If you’re reading this chances are that you have already tried all of the comparability tools available in Windows 7 and are still looking for a solution. Windows 7 allows Enterprise, Ultimate, and Professional users to run Windows XP mode.
Windows XP mode is essentially a virtual installation of Windows XP that allows you to seamlessly run incompatible applications on your Windows 7 machine. When configured, the end-user will never know that they are running the application in an virtual environment. The How-to below will show you where you can download and install Windows XP Mode and how to set it up for first use.
If you have any comments please post them below or if you have any questions visit our forums.
Note: I used Windows 7 Ultimate in this tutorial.
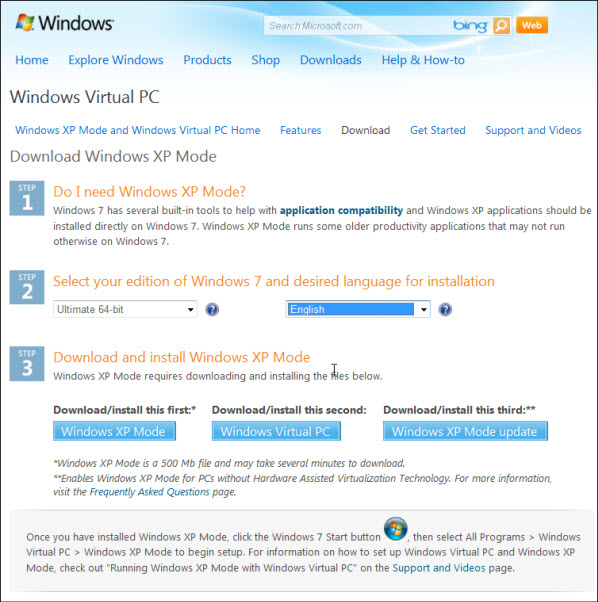
1. Download and install the following (Microsoft website);
- Windows XP Mode
- Windows Virtual PC
- If necessary – Windows XP Mode update
Note: If your computer does not support hardware virtualization you will need to install the Windows XP Mode update (third download).
Once everything is installed and you restarted your computer, follow the steps below.

1. Open the Start Menu by clicking on the Orb.
2. Click on All Programs
‘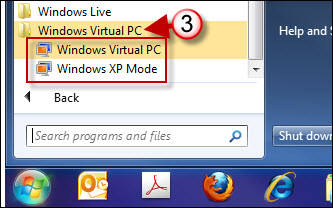
3. Click to expand the Windows Virtual PC folder. Here you will find the shortcuts to Windows Virtual PC and Windows XP Mode.
Run Windows XP Mode
1. When you are ready to use Windows XP Mode, click on the Windows XP Mode shortcut located in the Start Menu (see above).
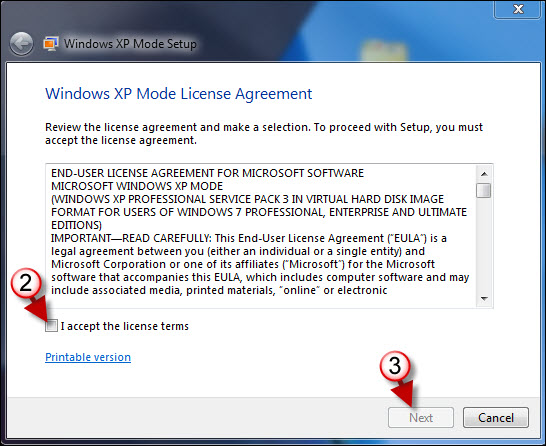
2. If you accept the license terms click on the check box.
3. Click Next to proceed.
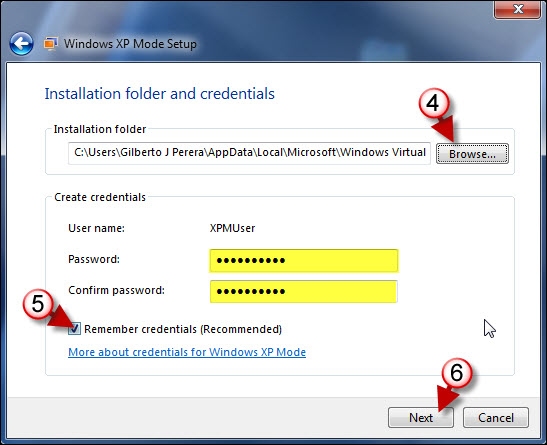
4. If you wish to specify a different directory for the XP Mode installation, do so by clicking on the Browse button.
5. Enter the password you wish to use for the virtual machine. Unless you want to constantly enter the password I recommend you add click on Remember credentials.
6. Click Next to continue.
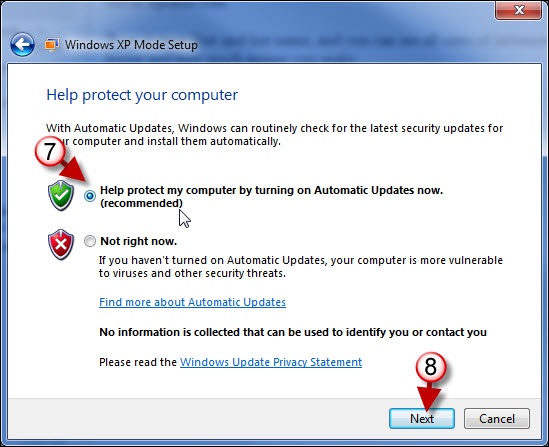
7. Select Help protect my computer by turning on Automatic Updates now.
Note: It is recommended you use this setting to keep the Virtual PC up to date.
8. Click Next to proceed.
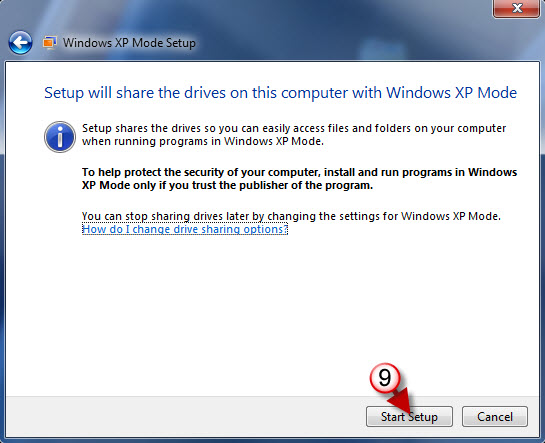
9. Click on Start Setup to begin the setup process.
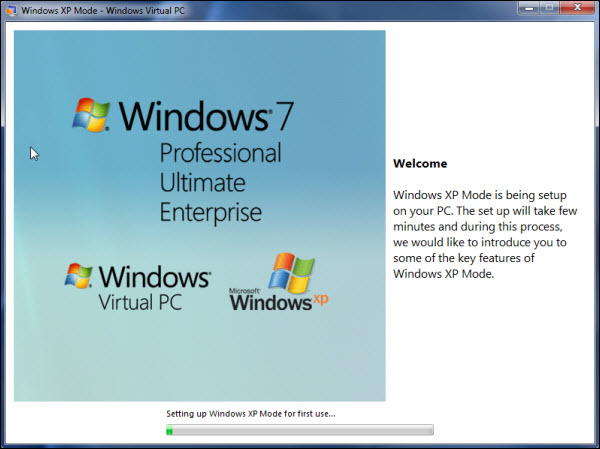
Installation progress…
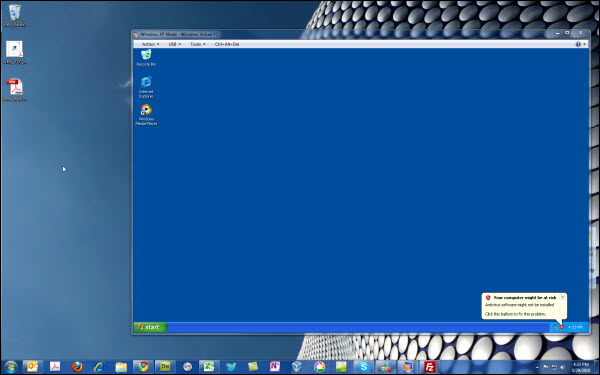
Windows XP Mode running on Windows 7
