Home networks provide a great way of sharing data between different computers and easy access to specific directories can sometimes result in clicking through a dozen folders before arriving at your desired destination. In order to avoid the usual, "\\somecomputer\users\username\My Documents\School\2008\Spring\" when locating a specific folder on a networked PC, you can simplify this by mapping a directory (like the one mentioned earlier) to a drive on your computer. Instead of typing or clicking through all those directories you can simply map to it and address it as a drive, so you would go from "\\long\address\directory\directory\" to "J:\". This feature makes accessing frequently accessed network directories easy. If you have any comments or questions please post them below.
Note: I used Windows Vista 64-bit
There are two ways to reach the Map Network Drive within explorer, both will be demonstrated below.
Method 1
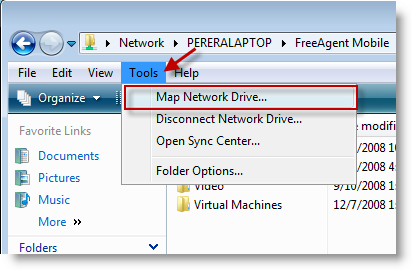
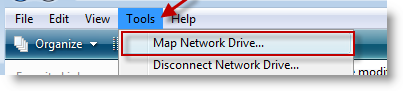
With Explorer open (usually a folder within your computer), click on Tools > Map Network Drive… from the menu.
Method 2
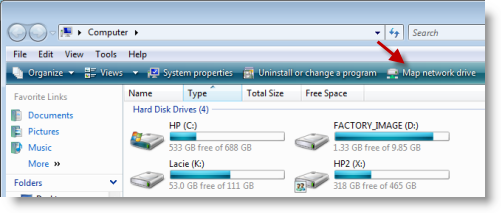
With My Computer open, click on the Map network drive button directly below the address bar.
Either method should take you to the step below
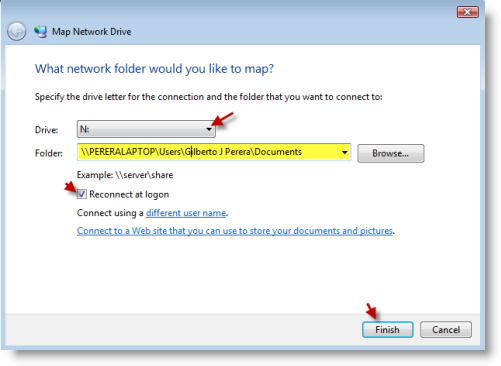
1. The Map Network Drive window will open, in order to map your network drive you must do the following;
A. Select the drive letter you wish to use from the Drive drop-down menu (make sure to use a drive letter that is not in use)
B. Find the network location you wish to map to, by clicking on Browse and selecting the location.
C. In order to keep you from repeating these steps, add a checkmark to the Reconnect at logon checkbox.
Click Finish when you are done.
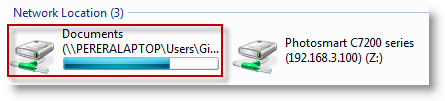
2. When you browse to My Computer you should see the mapped network locations under Network Location just as you would see a drive listed in My Computer
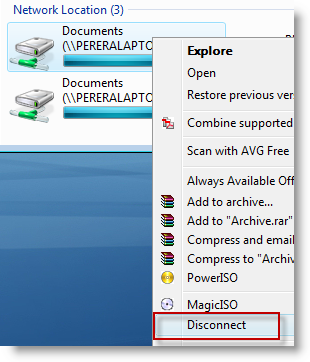
3. Should you wish to remove the network location, right-click on the drive you wish to disconnect and click on Disconnect from the drop-down menu.
