How to Use the Windows 7 Snipping Tool

Windows 7 Snipping Tool

The Snipping tool is a great alternative to paid screen capturing software out there. It allows users to select different modes of capture (full screen vs. rectangle), it provides some primitive editing tools (a pen with multiple colors, an eraser, and a highlighter). I can see this as a great tool for tablet users. It doesn’t have all the bells and whistles of paid screen capture tools, but it certainly gets the job done. The guide below will show you how to use the program to make a screen capture and save it. If you have any questions or comments, feel free to post them below.

Note: I used Windows 7 RC1 for this tutorial

Windows 7 Snipping Tool

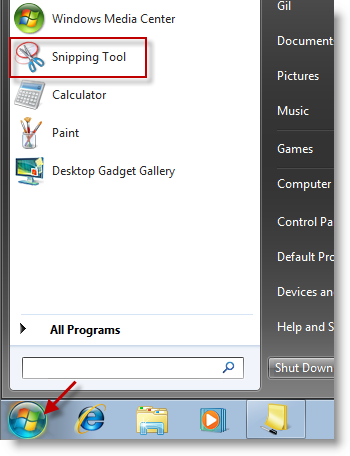
1. Click the Start Menu button (the Orb) and locate the Snipping Tool program, click to open.

Windows 7 Snipping Tool

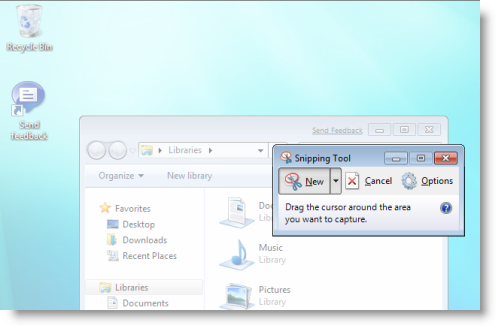
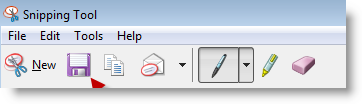
2. The Snipping Tool window will open. To capture a screen shot, click on the New button and select Rectangular Snip from the menu.

You may chose additional Snip types, the options are as follows;

  • Free-form Snip: A free-form snip, the name says it all.
  • Rectangular Snip: A snip enclosed in a rectangle designated by you
  • Window Snip: A snip of a selected window
  • Full-screen Snip: A snip of the entire screen


Windows 7 Snipping Tool

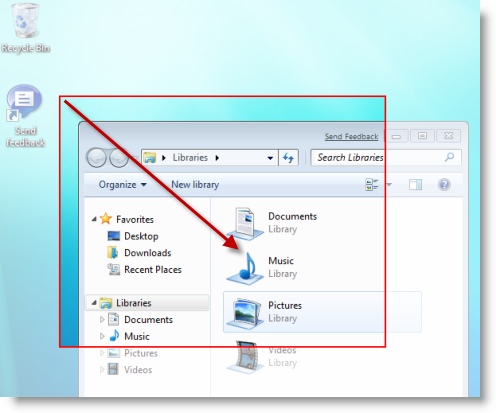
3. Click and drag (while holding down the left mouse key) a rectangle around the area you wish to capture. The red lines indicate the boundaries of the current capture. When you’re happy with your selection release the left mouse key to finalize your selection.

Windows 7 Snipping Tool

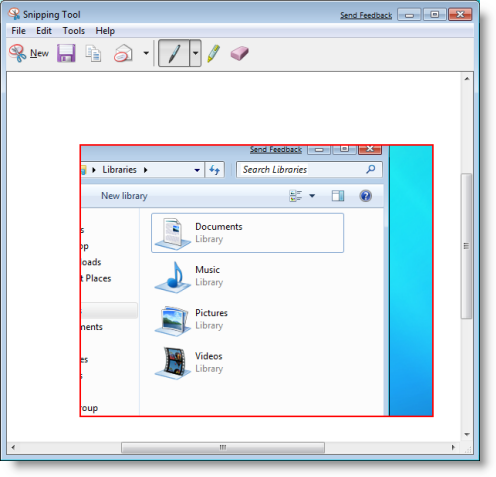
4. Your selection should now appear in the Snipping Tool window. Here you can edit the image by adding notes, highlighting, and erasing.

Windows 7 Snipping Tool

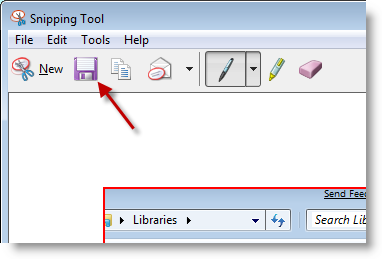
5. To save your screen capture, click on the Floppy button located on the menu bar.

Windows 7 Snipping Tool

6. Locate the directory you wish to save the screen capture to and click Open to access the folder.

Note: I had created a Screen Captures directory that I use for this purpose

Windows 7 Snipping Tool

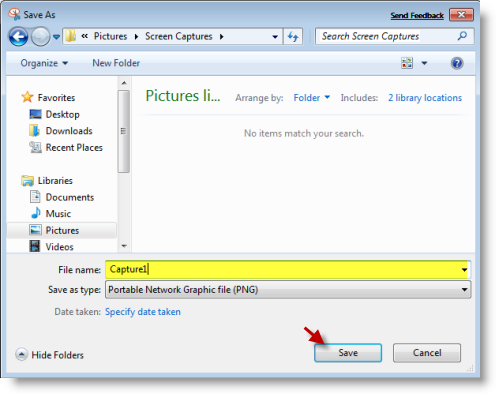
7. Name your screen capture and click Save to save the image to your desired location.

Article posted on 06 3rd, 2009

Related & Suggested Posts

  1. How to Customize the Windows 7 Shut Down Button
  2. Are You Ready for Windows 7?
  3. Getting Around the Windows 7 Taskbar
  4. Use Windows Search to Locate Your Files and Applications
  5. Log On, Log Off, and Shut Down Windows 7


4 Responses to “How to Use the Windows 7 Snipping Tool”

  1. ghem says:

    the interface of Windows 7 is great but in my opinion Windows XP is still a very solid and stable operating system. Right now, I would never give up XP for Windows 7.

  2. Harry says:

    Windows 7 is much better than Windows Vista when it comes to performance. i like Windows 7 just like Windows XP

  3. Jay says:

    You can also get original Vista Snipping Tool on Windows XP, yeah really just like Vista and Windows 7:

    http://www.wincert.net/forum/index.php?/topic/4069-get-vista-snipping-tool-sticky-notes-inkball-texas-holdem-rtm-ported-to-xp/

  4. Thanks for the great resource.

Leave a Comment

Note: I discourage users from using keywords in their names when posting comments, most of those are caught as spam and end up being deleted. It would be more productive and interactive if commentators use the name they go by rather than using an unrelated name. In the future I reserve the right to delete comments from users using a name other than their own.

Connect with Gil via
Connect with Gil
Facebook | Twitter | Digg | SU | LinkedIn
Who's behind Gil's Method?
My Name is Gilberto J Perera and I'm the editor behind Gil's Method. I started this blog to help relatives with computer questions. Since then the blog has grown to the collection of articles you see today, I hope that you find this blog useful and that you come back again.
Read more at my about page
Other Resources

Books (Coming Soon)

Forum (Coming Soon)

Store (Coming Soon)